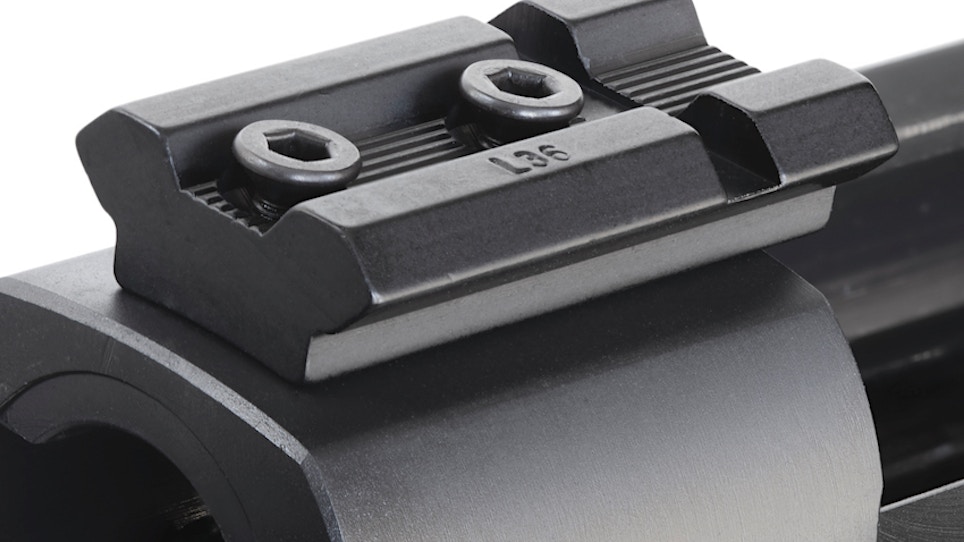
Hole pattern (distance) is different fore and aft, making it easy to index the bases in the proper position. Place and lightly insert the screws to ensure everything is aligned. This is one of the final steps of installing mounts on the Rem. 700 before locking the screws to the proper torque amount. (Photo: Guy Sagi)
Firearm enthusiasts have a passion for precision, although not all of them are ready to invest in the pursuit’s latest and greatest for a variety of reasons — including budget, skepticism about their skill and the indifference caused by a bulging gun safe. The attraction shows every time a customer drools over a rifle or optic tailored for a task, and in those new fine-tuned, long-distance cartridges recently added to your inventory.
Industry leaders stay there by doing market research and responding to demand. Their findings, as reflected by this year’s crop of new products, concur. Add smartphone ballistic apps — downloaded by the millions, with most probably never run at the range — and it’s obvious gun owners, given the right opportunity, would love to try their hand at ringing steel at 1,000 meters.
The new norm in gun sales may have made a lot of customers sluggish in firearm purchases, but helping them rediscover and refresh a long-lost treasure capable of precision — often inexpensively — goes a long way in building return business. And there are millions of rifles up to the task collecting dust after a premature exile to a dark corner of the safe.
The number of Remington 700s sold since its introduction in 1962 — more than 7.5 million in a kaleidoscope of chamberings, including some ideal for precision work — is a prime example. Its M24 and M40 sniper rifle versions have served the U.S. military well and civilian versions have the same inherent accuracy.
More than a few bank accounts have been drained in building a rifle system for this pursuit, but it’s money wasted without a rock-solid scope base mount at the foundation. When point of impact wanders from point of aim, gun owners take up video games and don’t come back as often.
Rem. 700 base mounts aren’t as DIY friendly as today’s 1913 Picatinny rails, but until you’ve done a few, anchoring the bases can be a little confusing. Bear in mind, millions of other bolt-action rifles use the same pattern, making this simple upgrade or installation process a target-rich environment and great way to open a friendly optic upgrade discussion.
About the Bases
Rem. 700-style bases come in two flavors — one- and two-piece. The latter usually works on both long or short actions. There’s a lot to be said about the strength of the former, but remember they are configured to fit one or the other action length precisely, not both. Select the manufacturer’s recommended version before you begin.
Open the package and ensure all required hardware is included. The four mounting screws are small and should be handled carefully to prevent their unannounced disappearance. Some companies include a tool for their tightening, although if you have a torque wrench that reads in inch-pounds it’s always best to ensure pressure is applied evenly.
Nicks, burrs or scars in the grooves on top of the bases can prevent the rings from seating flush and solid. Although rare in today’s CNC manufacturing, they do happen, so inspect before you begin and do not use anything questionable. Clean well if necessary.
Now take a close look at the bottom of the bases, which are slightly rounded to fit the receiver’s contour. Make sure they’re smooth and free from the debris that can accumulate during shipping. They need a tight and flush fit, so remove foreign material.
Sort the screws by length. The short pair go with the thin base, the longer two will affix the fatter version.
Remove or empty the magazine, make the rifle safe and double check it is unloaded. Take out the bolt and place the firearm solidly in a padded vise or clamp.
If necessary, remove the old base and/or scope. If the rifle has screws installed, remove them and then clean both mounting surfaces thoroughly. Once again, a flush fit free of obstructions is critical. Use canned air to blow out the holes for the screws, just in case anything dropped in during shipping or old-base removal.
If recommended by the manufacturer, apply a small amount of thread-locking compound to the mounting holes. Don’t overdo it and avoid filling fully. Use a soft cloth to daub away excess.
The distance between holes on each base is different, which makes correct placement on the receiver relatively foolproof. Find the base’s position, insert the corresponding-length screws, and gently put it in place
Hold the base firmly and tighten according to the manufacturer’s specifications. Don’t overtighten, double check to ensure everything is snugged properly and that customer should be satisfied with years of reliable service — from that chronically ignored rifle, and from your staff as well.


